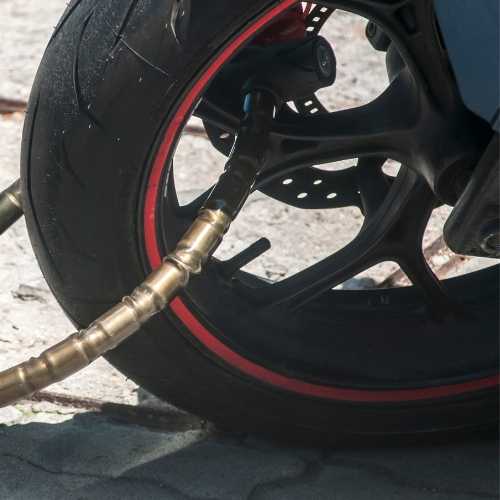
As the winter season ends, motorcycle enthusiasts eagerly wait to take their bikes out for a spin. However, before hitting the road, it is important to prepare the motorcycle after it has been in winter storage. Proper preparation will ensure that the bike is in optimal condition and safe to ride. In this article, we will provide a step-by-step guide on how to prepare your motorcycle after winter storage.
Prepare a Motorcycle after Winter Storage
Step 1: Give your motorcycle a thorough wash
The first step in preparing your motorcycle is to give it a thorough wash. Use a gentle motorcycle cleaner and a soft cloth to avoid damaging the paint or finish. Pay extra attention to the wheels, brakes, and chain to remove any dirt or debris that may have accumulated during the storage period.
Step 2: Check the battery
Battery maintenance is essential for any motorcycle. If your battery has been sitting idle for several months, it’s likely that it has lost some of its charge. Check the battery voltage and charge it if necessary. If the battery is damaged or not holding a charge, consider replacing it before hitting the road.
Step 3: Inspect the tires
Check your motorcycle tires for any signs of wear or damage, including cracks, bulges, or punctures. Ensure that the tire pressure is correct, as low tire pressure can lead to poor handling and reduced fuel economy.
Step 4: Change the oil and oil filter
During the winter storage period, the oil in your motorcycle can break down and lose its viscosity, making it less effective in lubricating the engine. Changing the oil and oil filter before the riding season is a good idea.
Step 5: Check the brakes
Inspect your motorcycle’s brake system, including the brake pads, rotors, and brake lines. Ensure that there are no leaks or damage, and that the brake fluid level is correct.
Step 6: Check the air filter
A dirty air filter can reduce your motorcycle’s performance and fuel economy. Check the air filter and replace it if necessary.
Step 7: Check the spark plugs
Your motorcycle’s spark plugs can become fouled or damaged during the winter storage period. Inspect the spark plugs and replace them if necessary.
Step 8: Check the coolant level and condition
Inspect the coolant level and condition of your motorcycle’s radiator. Ensure that the coolant level is correct and that it’s not contaminated or discolored. If the coolant is discolored or contaminated, consider flushing and replacing it before the riding season.
Step 9: Lubricate moving parts
During the winter storage period, some of your motorcycle’s moving parts may have become dry and seized. Lubricate the moving parts, including the throttle cables, clutch cables, and pivot points, to ensure they move smoothly.
Step 10: Test the lights and electrical system
Test all the lights, including the headlight, taillight, brake light, and turn signals, to ensure they are working correctly. Also, check the electrical system, including the battery, starter motor, and charging system, to ensure everything is functioning correctly.
By following these steps, you can ensure that your motorcycle is ready for the upcoming riding season and will provide you with a smooth and safe riding experience. Remember to always wear protective gear and ride responsibly.
Motorcycle Testing
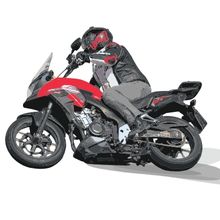
After you have completed all the necessary maintenance and preparation for your motorcycle, it’s important to ride cautiously for the first few miles to ensure everything is working correctly. While the bike may feel great in the garage or driveway, it’s essential to test it out on the road to ensure that it is operating correctly.
During the first few miles of riding, pay close attention to how the motorcycle feels and handles. Make sure the brakes are working correctly and that the steering is responsive. Check that the engine is running smoothly and that there are no unusual noises or vibrations.
It’s also a good idea to start out on quiet roads or in an empty parking lot, where you can safely test out the bike’s handling and acceleration without any distractions or potential hazards. Gradually increase your speed as you become more comfortable with the motorcycle’s handling.
In conclusion, taking the time to ride cautiously during the first few miles after preparing your motorcycle is crucial to ensure that everything is working correctly. It’s better to discover any issues early on rather than when you are out on a longer ride. Remember to always wear proper safety gear and to ride responsibly.
Common Questions FAQ
- How often should I change the oil in my motorcycle?
It depends on the make and model of your motorcycle. Check the owner’s manual for the recommended oil change interval.
- What type of oil should I use in my motorcycle?
Again, it depends on the make and model of your motorcycle. Check the owner’s manual for the recommended oil type and viscosity.
- Can I store my motorcycle outside during the winter?
It’s not recommended to store your motorcycle outside during the winter, as exposure to the elements can damage the bike.
- Can I use a trickle charger to maintain my motorcycle battery during storage?
Yes, using a trickle charger can help maintain the charge of your motorcycle battery during storage.
- How often should I check my tire pressure?
It’s a good idea to check your tire pressure before each ride.
